Installing hardwood flooring is one of the most rewarding home upgrades you can make. It adds warmth, value, and long-term durability. But before the first plank is laid, there are important steps every homeowner should understand. Whether you are hiring a professional installer or planning a DIY project, preparation and knowledge make all the difference.
At TongueAndGroove.com, we provide high-quality hardwood flooring delivered directly to your door. To help you feel confident in your purchase, here is a beginner-friendly overview of what you should know before installation begins.
Acclimation Is Essential
Hardwood is a natural material, and it responds to changes in temperature and humidity. Before installation, flooring must acclimate to your home’s environment. This typically means allowing the boxes to sit unopened in the room where they will be installed for several days.
Skipping acclimation can lead to expansion or contraction after installation, which may cause gaps, cupping, or buckling. Always follow manufacturer guidelines for acclimation time to protect your investment.
Check the Subfloor
A proper installation starts with a solid, level subfloor. Whether you have plywood, OSB, or concrete, the surface must be clean, dry, and structurally sound.
Uneven subfloors can cause movement or squeaking. Moisture levels should also be tested before installation. Excess moisture is one of the most common causes of hardwood flooring issues.
If installing over concrete, especially in basements, a moisture barrier may be required. Engineered hardwood is often a better choice for installations over concrete due to its enhanced stability.
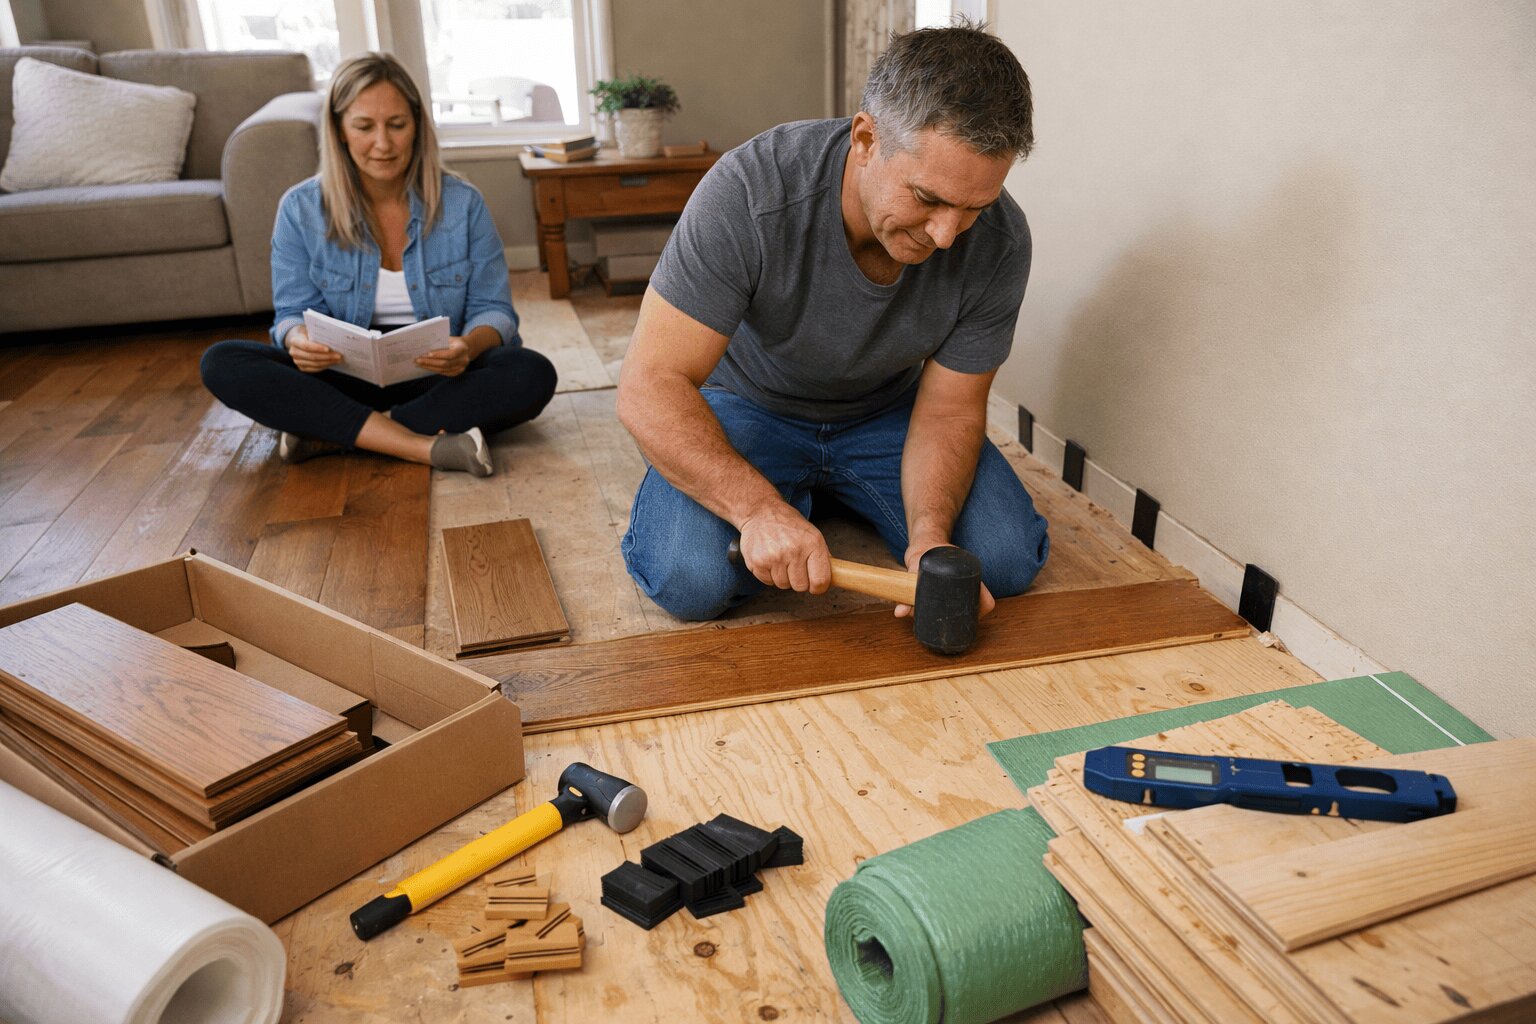
Understand Installation Methods
There are three primary hardwood flooring installation methods:
Nail-Down: Commonly used for solid hardwood over wood subfloors. Planks are secured with nails or staples.
Glue-Down: Often used for engineered hardwood, especially over concrete. Adhesive secures the planks directly to the subfloor.
Floating: Planks lock together and “float” over an underlayment rather than being attached to the subfloor. This method is popular for engineered hardwood.
The best method depends on the flooring type and your home’s subfloor conditions.
Plan for Expansion Gaps
Hardwood expands and contracts naturally with humidity changes. Installers must leave small expansion gaps around the perimeter of the room to allow for movement. These gaps are later covered by baseboards or trim.
Failing to account for expansion can cause boards to press against walls and buckle.
Order Extra Material
It is recommended to order 5–10 percent more flooring than your measured square footage to account for cutting waste and potential mistakes. For rooms with complex layouts or diagonal installs, you may need slightly more.
Buying from TongueAndGroove.com makes it easy to calculate and order the right amount for your project.
Avoid Common Mistakes
Some of the most common installation mistakes include:
Skipping moisture testing
Not acclimating the flooring properly
Installing over uneven subfloors
Choosing the wrong installation method
Forgetting expansion gaps
Careful planning prevents costly corrections later.
Start Your Project with Confidence
Hardwood flooring installation requires preparation, but the results are worth it. With proper acclimation, subfloor preparation, and the right installation method, your floors can last for decades.
TongueAndGroove.com offers a wide selection of high-quality hardwood flooring at competitive prices, making it easier than ever to complete your renovation. If you have questions about product selection or installation basics, contact us today and let our team help you get started with confidence.

